TUTORIAL: Rainbow Watercolor Pride Quote
Happy PRIDE, everyone! Okay, I know it's been going on since June 1, but in that time, I have moved across the country WITH a toddler. Sooo, I’m a little behind. Just sayin'.
Delay aside, it IS still PRIDE month, and today we're celebrating with a little tutorial: rainbow watercolor quote!
Here's what you'll need:
A quote. I chose this one by trans activist Sylvia Rivera. She was a powerful force — she was part of the Stonewall uprising, and is well known for pushing for recognition of issues facing underrepresented groups within the gay rights movement, including transgender individuals and people of color. If you don't know her, you should! (And yes, I know I misspelled her name on the final piece - again, cross county move with toddler - that excuses me from all spelling errors for at least a couple months).
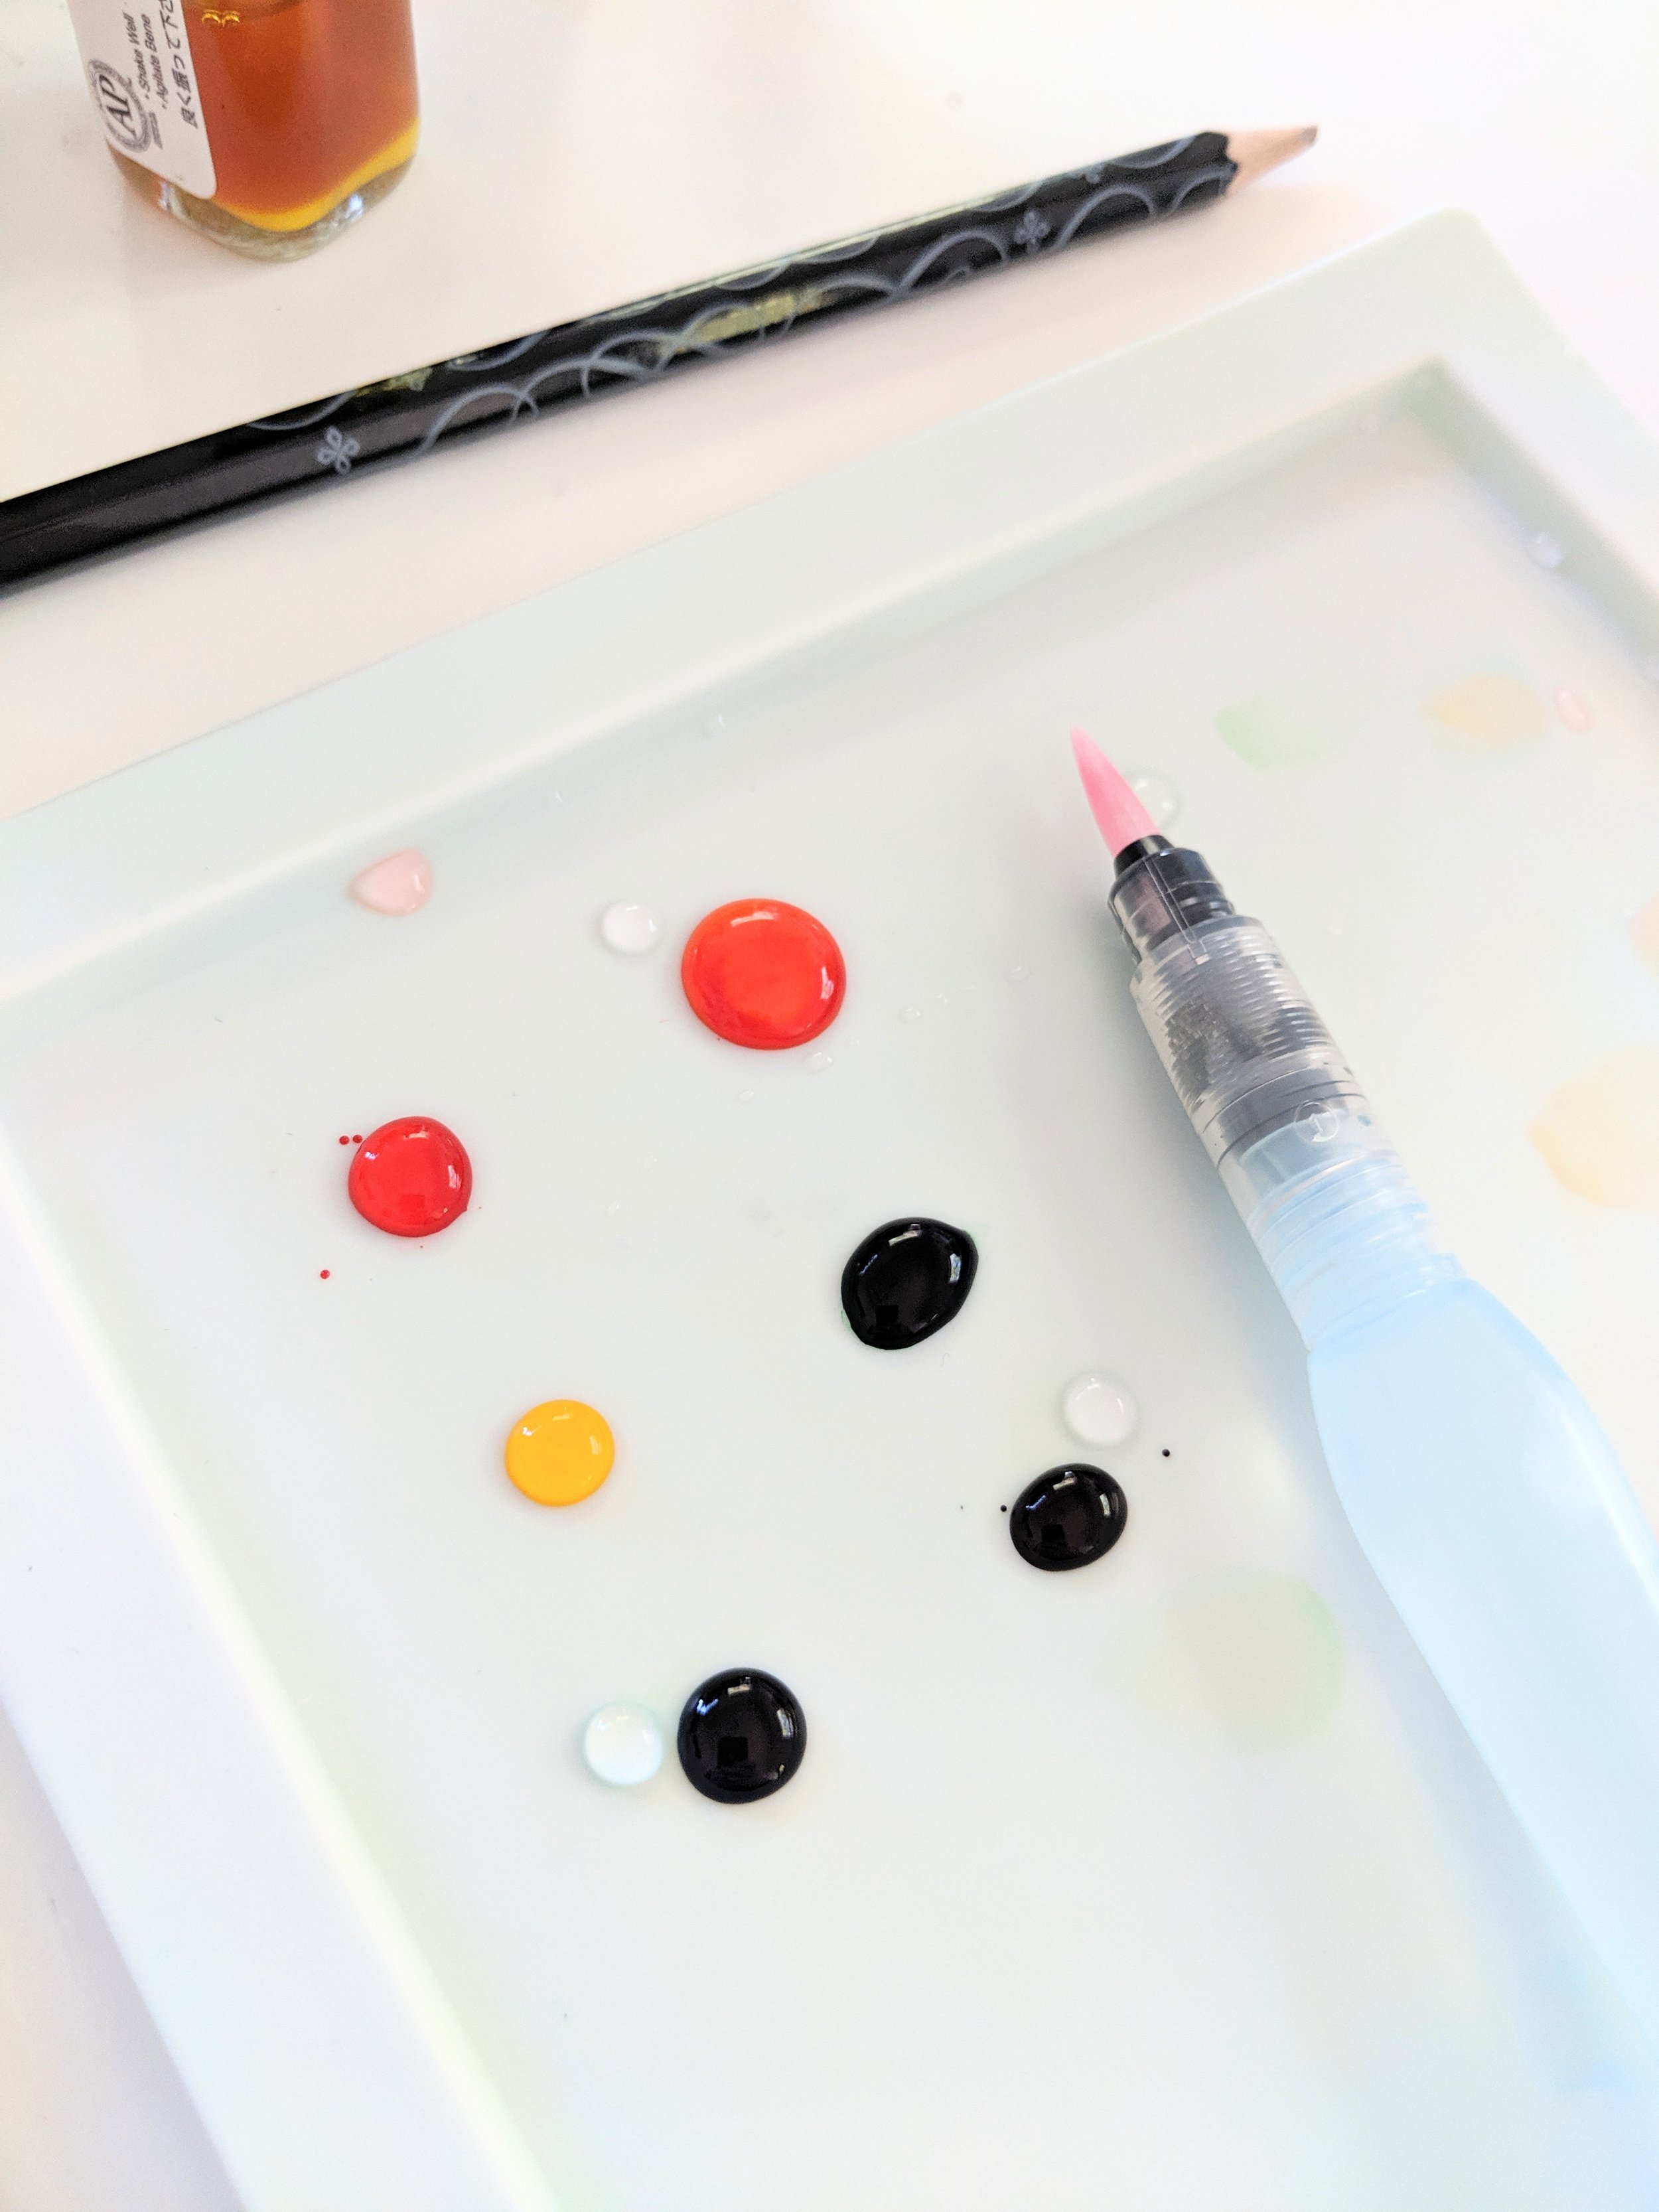
Watercolors. I used Dr. P.H. Martin's Radiant Concentrated Watercolors because I loooooove how vibrant they are. Any watercolor will do, though!
Round paintbrush or water brush
Watercolor paper
Palette for blending. If you are using a palette of watercolor, just use the lid - you can also use a Ziploc bag - seriously!
Pencil & scratch paper. Not pictured, but necessary.
Once you've gathered all your supplies, it's time to lay out your quote. You want to divide your quote into 4 or 5 lines so you can capture all the colors of the rainbow - admittedly, I skipped the “I” in ROYGBIV for this bad boy. Indigo, I love you, but for this project, you're skippable.
I recommend you test out your layout on a piece of scratch paper. That way you can try out a a few different things before you commit. Because here's the thing - as pretty as watercolors are, they are not opaque. You can see pencil marks through them, so the less marks you make on the page, the better. When you are ready to put down pencil on your watercolor paper, make your marks very lightly. Like, “I can barely see these” light. Again, watercolors are translucent, so if you make your marks too dark, you'll see them through the paint - and we don't want to mess up your pretty piece!
Now it's time to get your watercolors! No matter if you're using tubes of watercolor, a packed palette or concentrated watercolors, you want to lay out every color you'll be using. If you don’t have all the colors you need (I could not find my bottle of orange), bust out that color wheel and mix your own!
Once you have all the colors laid out on your palette, choose your color to start with and get going. I painted my first line red, the second line was orange, then yellow and so on around the color wheel. Between each line, I mixed a bit of the previous color in with the next color. This helps make the transitions a little smoother, and also, what's the point of working in watercolors if you aren't going to blend? Amiright?
Et voila! You have a lovely piece of rainbow watercolor art. Frame that bad boy and hang it up in your home or office — just be sure to check the lightfastness of the watercolor before you hang it in a place that gets a lot of sunlight.
And one final note: you don’t need fancy watercolors to make a beautiful piece! You can pick up inexpensive palettes at your local craft or art supply stores.
Made your own beautiful piece with this tutorial? Share, mama! Be sure to tag @hooplaletters on the ‘gram.


