I Could Write On That: Watermelon Edition
The watermelon in question
There are few things in my home that are safe from the calligraphy treatment. Glasses? Personalized. Baking dishes? Doodle on. Walls? Muralified. And because I’ve yet to meet a surface I haven’t wanted to write on (I’m sure there’s some deep psychological problem there, but let’s just ignore it for now), I’ve decided to start a new series aptly named I Could Write On That, in which I write on anything and everything.
For the inaugural edition, I’m tackling a watermelon. You see, I bought this bad boy yesterday and it’s just been sitting on my kitchen counter, BEGGING me to write on it. So today, I’m going to show you how to script on a watermelon. Seriously. Okay, let’s get this show on the road.
Before I started scripting, I wanted to test out some different pens. A watermelon ain’t paper, and I wasn’t sure what would work best. I really wanted to avoid paint pens, so I grabbed a few different pens from my stash and got cracking.
First up is a chalk marker. Me likey.
One great thing about the chalk marker is that you can easily wipe it off if you make a mistake. Say, for instance, your cat meows loudly and it startles you. Or something else totally normal. Just use a damp paper towel, wipe it off and start over.
I liked the chalk marker so much, I decided to try out the metallic chalk marker. Works just as well.
Then I gave the Tombow Dual Brush Pen a try. A big swing and a miss here. The ink just balled up on the rind of the melon. Major bummer, but not too surprising.
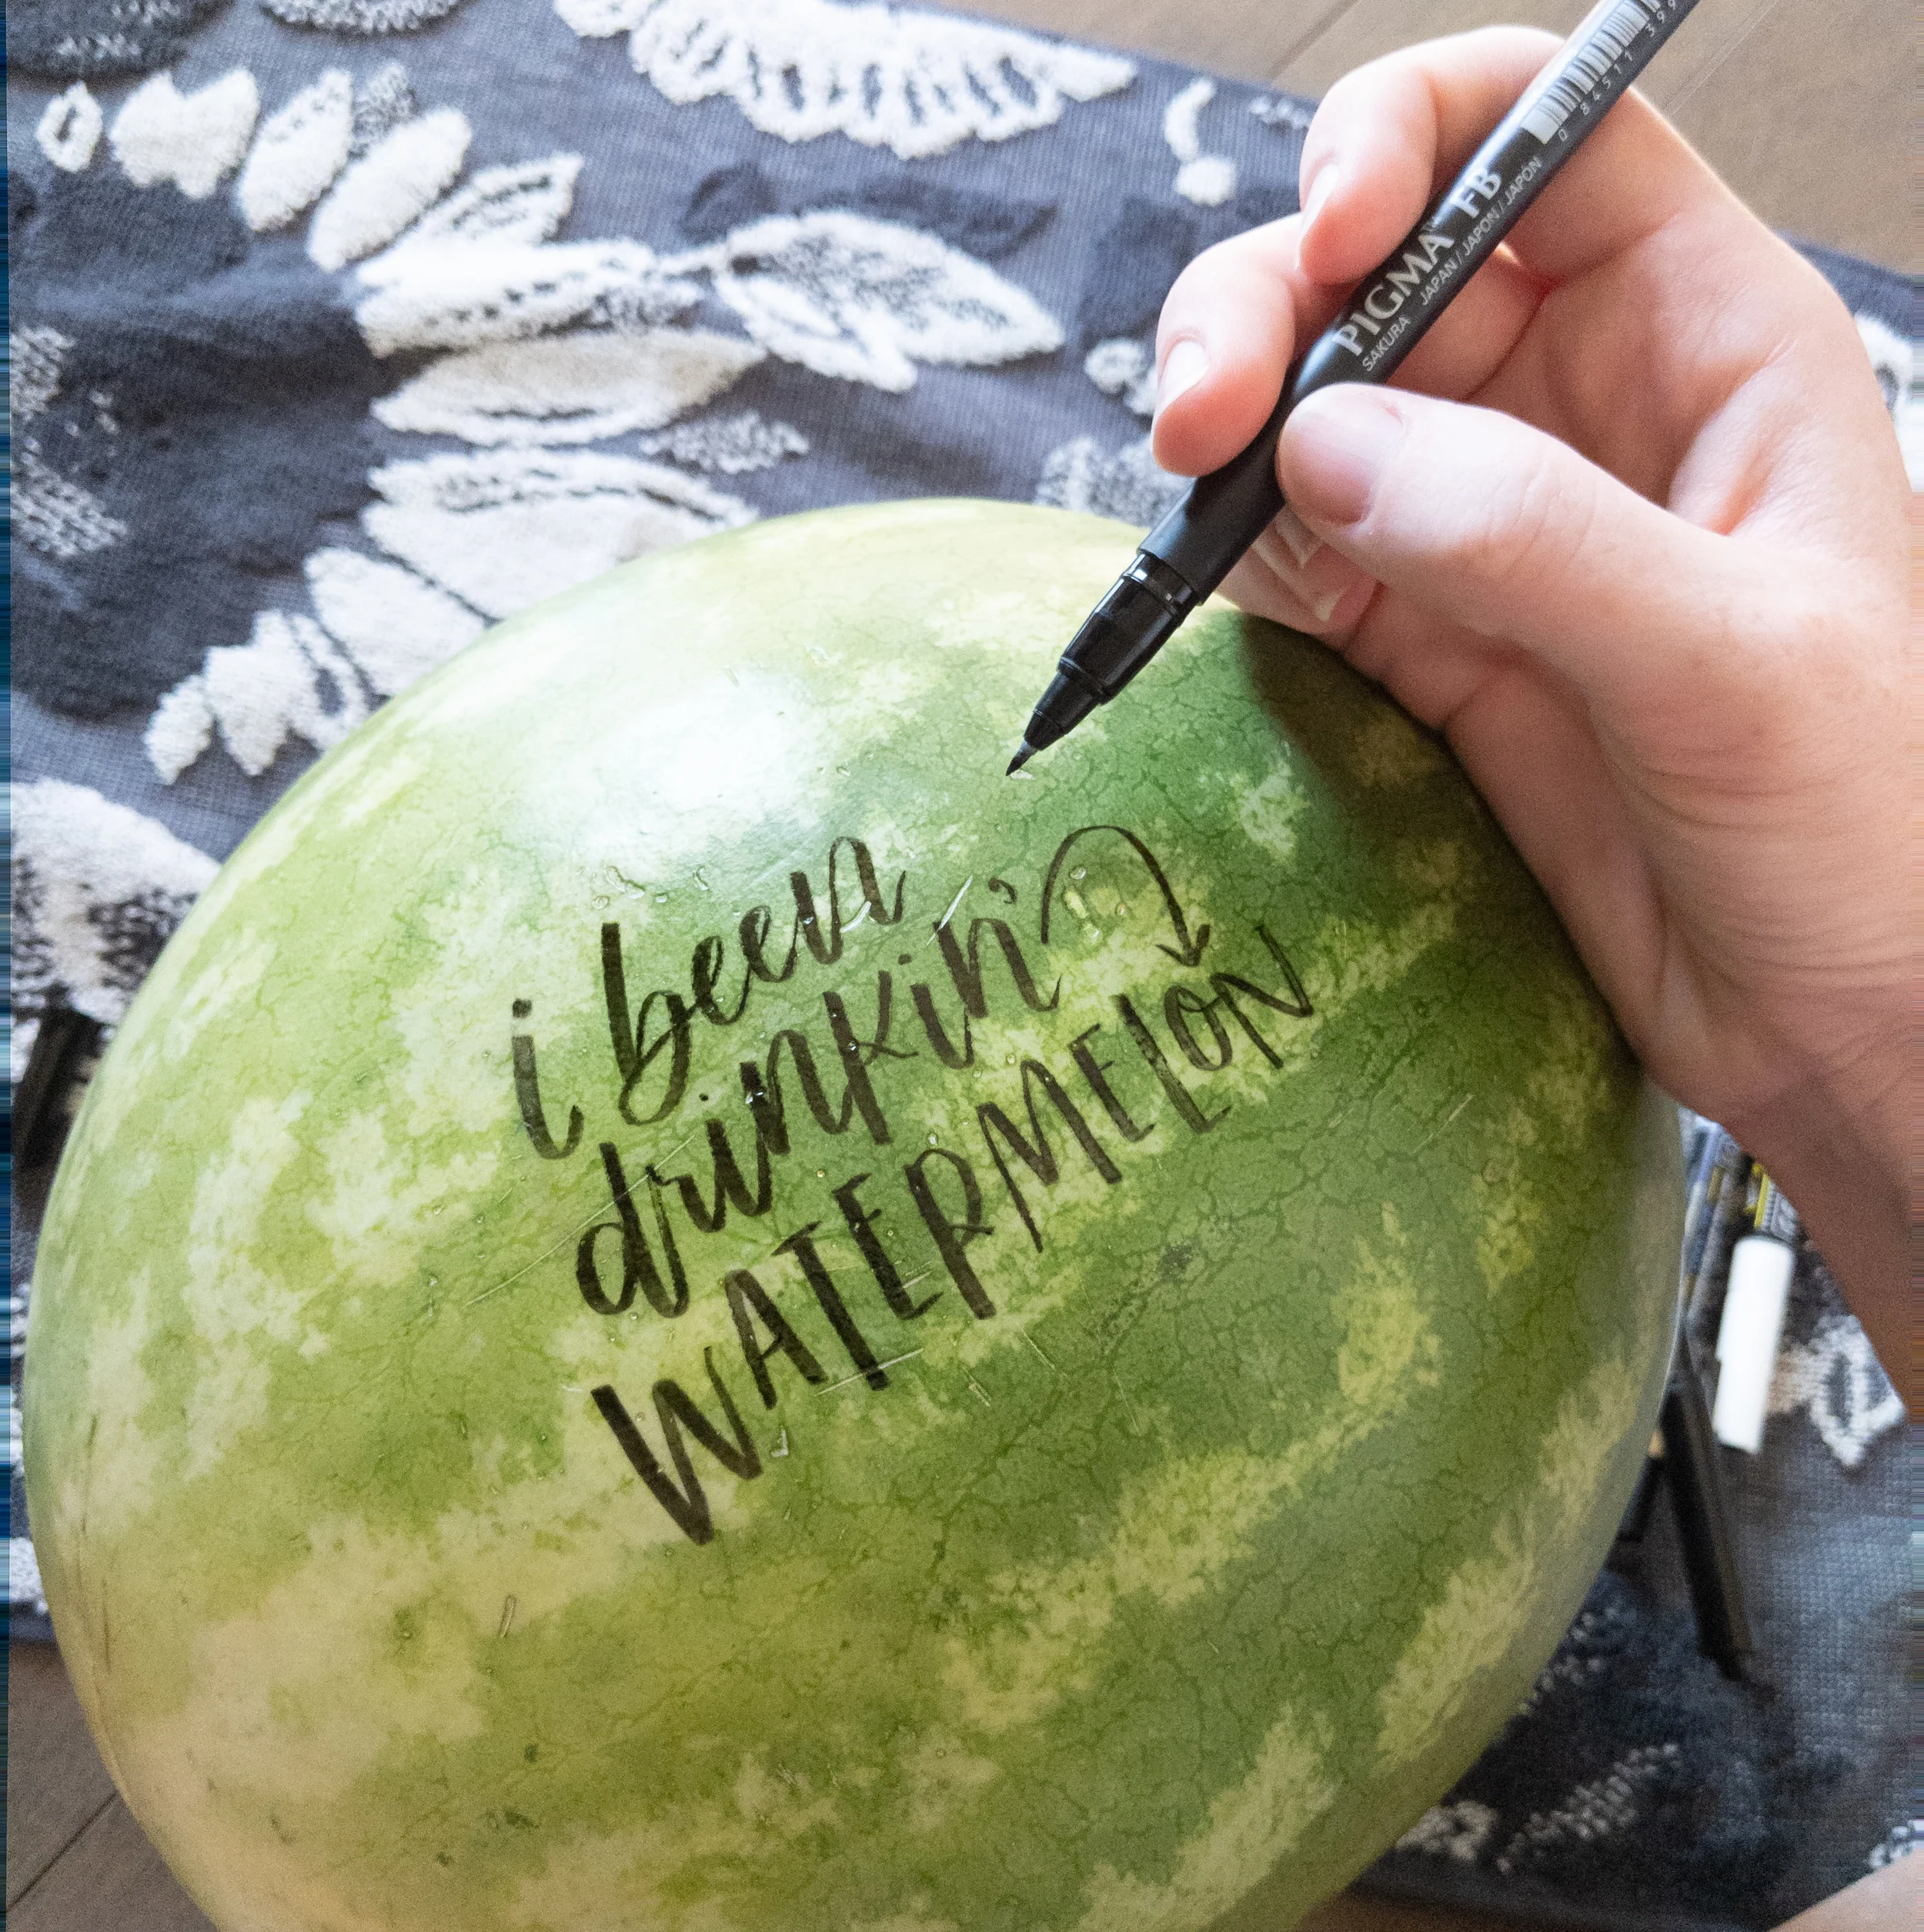
What WAS surprising was the Prisma Fine Tip Brush. This actually wrote like a dream. Almost like it was made to write on watermelons. It did take a bit longer than the other pens to dry, but unlike the Tombow, it finally did dry. If you catch it before it’s dry, you can wipe it off with a little water, just like the chalk markers.
Lastly I tried out my Sharpie brush marker. As expected, this stuck like glue. I made one stroke, decided I didn’t like the purple and tried to wipe it off. NEWP. Just smeared the small parts that weren’t dry, but it didn’t come totally off. Which is why in the final video you can see “one in a melon” behind all the summer words. Like how I just pretended it wasn’t there? No rules in melon scripting.
While I LOVED that I could do actual calligraphy with line variation with the Pigma brush, I decided to go with the chalk marker to get a little color in there. I chose a pink Positive Art chalk marker and got to it, covering the watermelon in summery phrases. Not only will this make a super cute centerpiece for our 4th of July cookout, but it will also be fun to read the rind when it’s cut into pieces.
You can view the process video at the end of the post, but for now…
What a fiiiiine melon! A few tips for actually scripting.
Work on the floor. Honestly, this was the easiest for me. For the video, I tried to back off so you could see me writing — but when I finished it off camera, I sat cross-legged and laid it in my lap. Made it much easier.
Writing on a round surface is a whole lot different than writing on paper. In addition to moving your hand across the surface, you also need to tilt and turn the melon as you script. Tricky, but not impossible! And because you’re using a chalk marker, you can always erase if you make a mistake.
Because the surface of the melon is almost glossy, the ink will take a bit longer than normal to dry. If you are covering the melon like I did, you’ll want to make sure it’s dry before you start rolling it around. Otherwise, you’ll have a MESS.
This would also look great with just one phrase scripted on it — honestly, I’m probably going to the store to get another so I can do just that. Even better? Script your phrase on it and then turn it into a watermelon keg. Yup, that’s a thing.
I hope you enjoyed the first edition of I Could Write On This! Be sure to share your watermelon creations, and let me know what you’d like to see me write on next.


